
There’s a familiar type of kitchen in Temecula and the surrounding Temecula Valley: honey oak cabinets with raised panel doors, chunky hardware, and that golden-orange tone.
These are often solid, well-built boxes with good bones and a dated look. A homeowner can stare at them for years, wondering what to do.
To show how refinishing plays out, here’s a generic illustrative example of this kind of kitchen. The details below are representative, not a specific client’s project — but the photos in this post are real Parallel Painting work: the same kitchen wall, before and after.
The Kitchen
Picture a standard tract layout: U-shaped with an island. All solid oak doors with raised panels, finished in a medium honey stain with a satin topcoat.
Structurally, everything is sound — boxes plumb, hinges working, drawers sliding. There’s nothing wrong with cabinets like these except that they look dated.
In a case like this, a homeowner has often already priced a full cabinet replacement, found the quotes high enough that replacement no longer feels like the obvious first option, and started looking at refinishing instead.
What They Wanted
The usual brief is straightforward: a clean, modern white that opens up the kitchen and works with new countertops. Homeowners want something that looks like new cabinets, not painted-over old ones — and they want a durable finish that holds its color.
This is a conversation I have on almost every project. People want to know: will this actually look good? Will the grain show through? Will it last? These are fair questions, and the answers matter.
The Process
Here’s how a project like this goes, step by step. The number of days depends on the size and scope of the kitchen.
Assessment and disassembly. I inspect every door, drawer front, and face frame, and repair any minor cracks or damage. We remove all doors and drawer fronts, label everything, take off the hardware, and protect countertops, floors, and appliances with plastic sheeting and painter’s tape.
Preparation. This is where the real work happens. We degloss every surface, then sand with 150-grit to remove the gloss uniformly. Oak grain is deep, so we apply a high-build primer designed to fill grain texture. After the first coat of high-build 2K primer, we inspect under raking light, make surface corrections, sand with 220 grit, apply a second primer coat, and sand with 320 grit before topcoats.
Grain filling is what separates a professional refinish from an obvious paint job. If you skip this step — or use the wrong primer — you’ll see every grain line through the paint. The finish might look okay from five feet away, but up close it screams “painted oak.”
Spraying. Doors and drawer fronts are sprayed in the negative-pressure booth at Tyler’s shop, and the face frames are sprayed in place inside a sealed, negative-pressure work area built around the kitchen. Parallel Painting uses HEPA-vacuumed sanding and a sealed, negative-pressure work area vented outside. Doors and drawer fronts are sprayed on a rack system — two coats in a bright white. The coating is a two-component (2K) polyurethane system.
Parallel Painting uses spray application for its cabinet-finishing process. Other manufacturer-approved cabinet products may permit brush, roller, or spray application.
Reassembly. After a full cure, we reinstall every door and drawer front, adjust hinges for alignment, and install the new hardware. We finish with a walkthrough to inspect every surface.
The Result
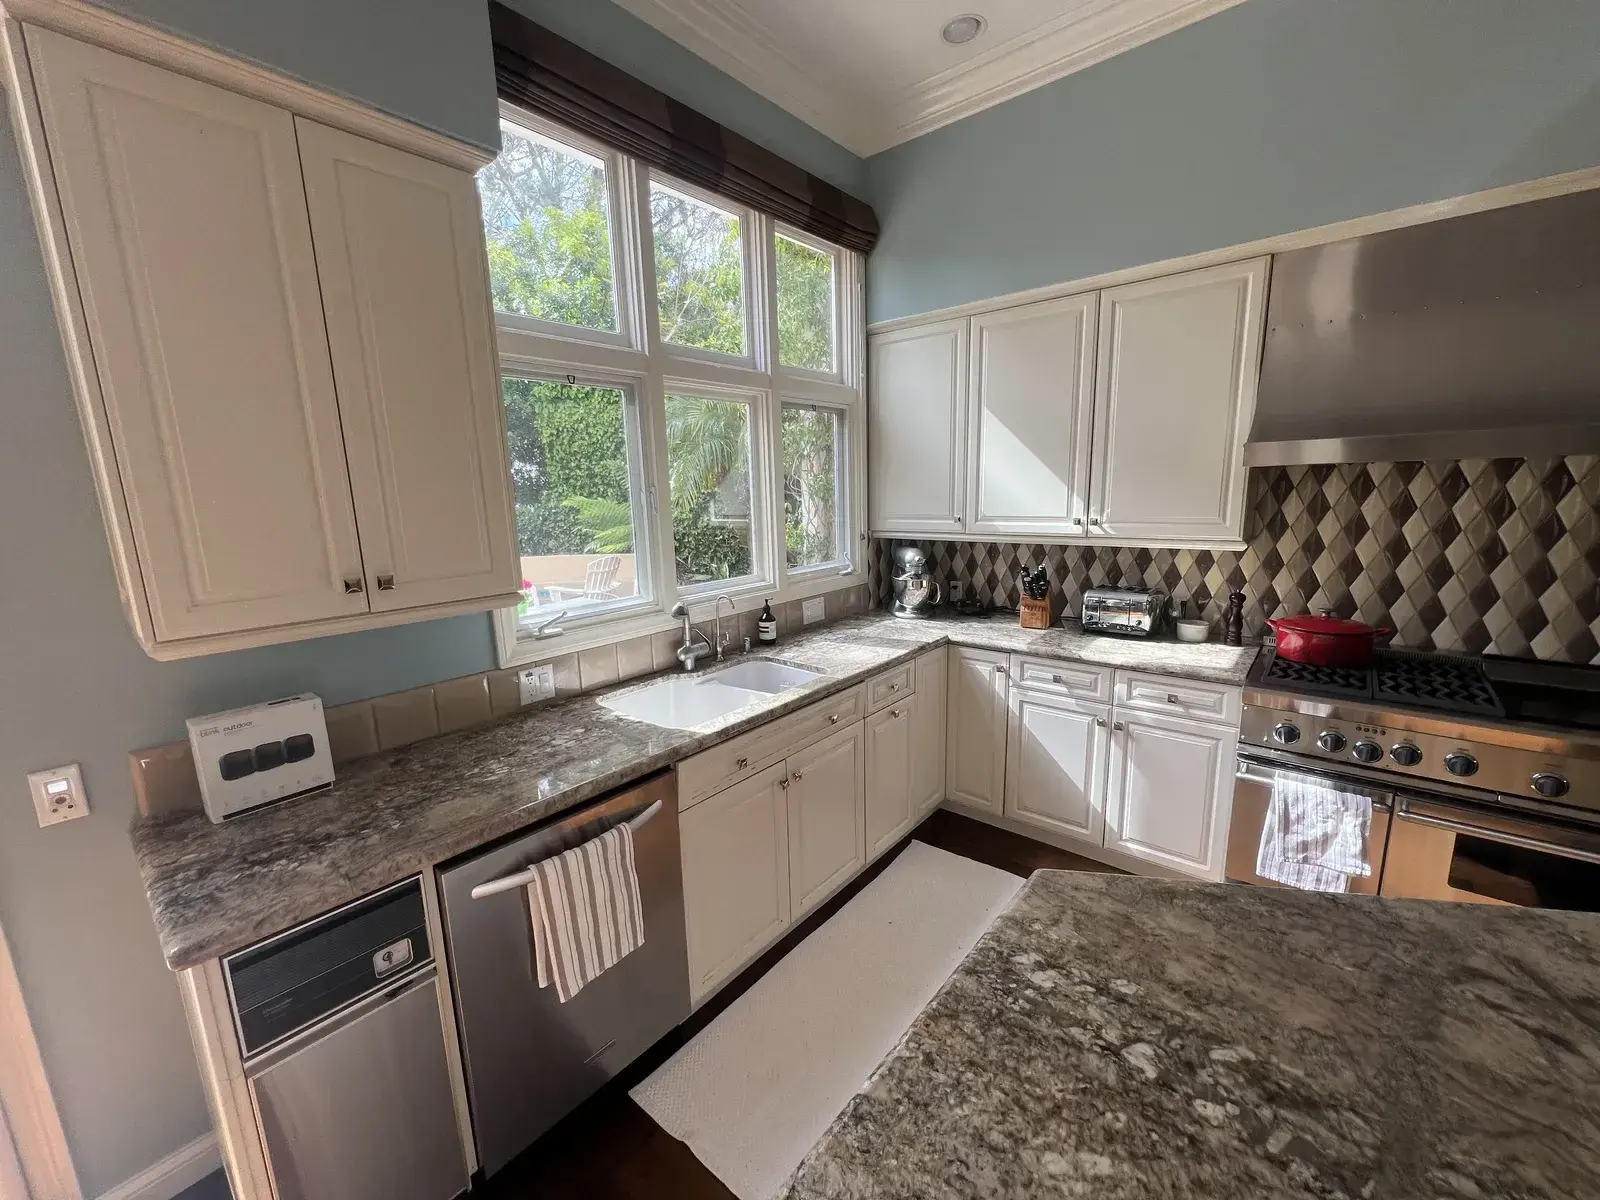
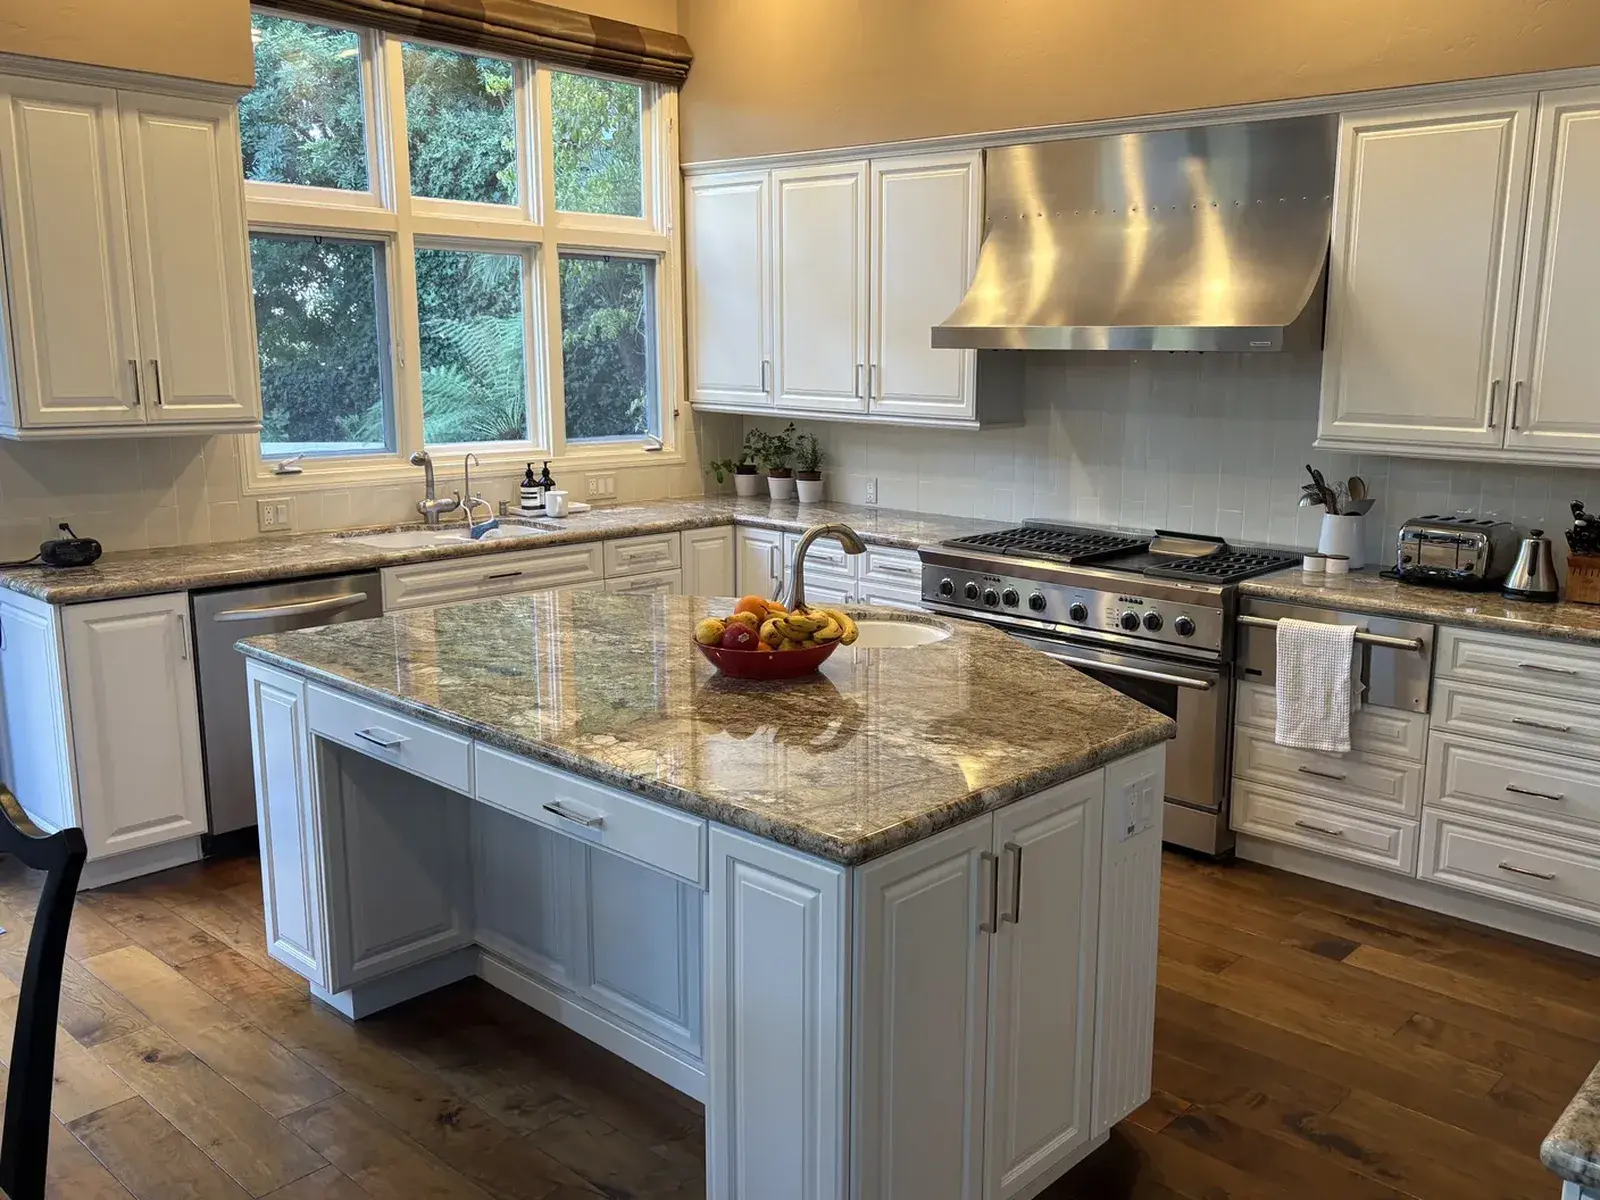
The transformation in a project like this is dramatic. The kitchen goes from a dated builder look to something that reads like new custom cabinetry. The high-build primer fills the open oak grain before finishing.
The reaction is what makes this work worthwhile — a homeowner walking in at the end and barely recognizing the room.
Refinishing also typically costs a fraction of what new cabinets would, since you keep the existing boxes and layout. For how scope drives the number on your kitchen, ask for a written quote in person.
Following Up
I follow up with clients after a few months of real kitchen use. The goal is simple: see how the finish is wearing and address anything that needs attention. No finish is immune to wear, so reasonable care still matters.
Parallel Painting’s cabinet-finishing process uses a two-component (2K) polyurethane system.
Is This Right for Your Kitchen?
If you have solid wood or high-quality plywood cabinets that are structurally sound, refinishing almost always makes more sense than replacing. You keep your existing layout, avoid the mess and timeline of a full remodel, and refinish cabinets you already own.
The kitchens where refinishing doesn’t make sense are those with particleboard boxes that are swelling or delaminating, or cabinets with a layout that truly doesn’t work for the homeowner. In those cases, I’ll tell you honestly that replacement is the better path.
If your Temecula kitchen is stuck in the early 2000s and you’re ready for a change, I’d love to come take a look. Every project starts with a free in-home estimate where I assess your cabinets, discuss finish options, and give you an honest number. Schedule your free estimate here or call me directly.
Learn more about our cabinet refinishing process in Temecula and our containment and HEPA cabinet refinishing setup.